Calculation of molding dimensions for plastic parts with metal inserts
When calculating the molding dimensions of plastic parts with metal inserts, it’s crucial to fully consider the difference in thermal expansion coefficients between metal and plastic. This is a key factor in ensuring part dimensional accuracy. The thermal expansion coefficient of metal inserts (such as steel and copper) is much smaller than that of plastic. For example, the thermal expansion coefficient of steel is approximately 12×10⁻⁶/ °C, while that of PP plastic is 150×10⁻⁶/ °C, a difference of more than ten times. During the injection molding process, as the melt cools and shrinks, the shrinkage of the plastic is restricted by the metal insert, resulting in stress within the part and affecting the molded dimensions. Therefore, mold dimension calculations must account for both the plastic’s shrinkage and the restraining effect of the metal insert. A ” shrinkage compensation method” is typically employed: Base dimensions are first calculated based on the plastic’s free shrinkage. Then, based on the insert’s size and position, a correction is applied to account for the shrinkage of the constrained area. This correction factor is typically 0.3-0.7 (the larger the insert and the closer it is to the part’s edge, the smaller the correction factor). For example, a PP plastic part with a steel insert has a main body size of 100mm, a steel insert with a diameter of 20mm located in the center of the plastic part, and a free shrinkage rate of 2%. The basic size is 100×(1+2%)=102mm. Due to the constraint of the insert, the corrected shrinkage rate is 1.2%, and the final mold size is 100×(1+1.2%)=101.2mm.
Calculating the mold dimensions of plastic parts with metal inserts requires a clear understanding of the fit between the insert and the plastic, and determining the appropriate clearance or interference fit to avoid assembly difficulties or loosening during use. When the insert is cylindrical and fits into the plastic hole, the fit type should be determined based on the intended use : If the insert and plastic are required to be tightly integrated (such as for load-bearing components), an interference fit should be used. During mold forming, the plastic hole should be 0.05-0.1mm smaller than the insert (at room temperature), leveraging the elastic deformation of the plastic to achieve interference fit. If the insert requires slight movement within the plastic hole (such as a bushing), a clearance fit should be used, with the molded plastic hole 0.1-0.2mm larger than the insert. For example, if a 10mm diameter brass insert is mated to an ABS part with a required interference fit of 0.05mm, the molded dimensions of the plastic hole in the mold are 10-0.05 + ABS shrinkage compensation (assuming ABS shrinkage is 0.5%, i.e., 10 x 0.5% = 0.05mm), resulting in a final dimension of 10-0.05 + 0.05 = 10mm. Furthermore, the fit must be verified at high temperatures. At molding temperatures (approximately 100°C), the plastic hole expands due to thermal expansion, and the insert also expands. Ensure that there is no excessive interference, which could cause cracking in the part.
When calculating the molding dimensions of a mold for a plastic part with a metal insert, the insert’s positioning accuracy must be considered. Dimensional errors in the positioning structure can directly affect the final dimensions of the part. Inserts are typically positioned in the mold using pins, holes, or grooves. The mold dimensions of the positioning area should be 0.02-0.05mm larger than the insert’s positioning dimensions to ensure smooth insertion without noticeable wiggle. For example, for a part with a square metal insert (10mm×10mm), the mold positioning groove dimensions should be 10.03mm×10.03mm, with a tolerance of ±0.01mm. This ensures accurate insert positioning while preventing deformation due to overtightening. For slender inserts, auxiliary positioning structures (such as intermediate supports) are required. The mold dimensions of the support areas also need to account for clearance. For example, for a metal rod insert with a diameter of 5mm and a length of 50mm, the mold dimensions of the intermediate support hole should be 5.02mm to prevent the insert from bending under injection pressure, thereby ensuring that the coaxiality error of the insert within the part does not exceed 0.1mm/m.
When calculating mold dimensions for plastic parts with metal inserts, it’s important to account for post-shrinkage effects, especially those surrounding the inserts. Stress release can cause secondary shrinkage, impacting dimensional stability. Post-shrinkage is typically 10%-20% of the initial shrinkage, and this allowance must be made when calculating mold dimensions. For example, if a PA66 part (with a steel insert) has an initial shrinkage of 1.5% and a post-shrinkage of 0.3%, the total mold shrinkage compensation is 1.8%. For a 100mm part, the mold dimensions are 100 × (1 + 1.8%) = 101.8mm. Post-shrinkage also depends on ambient temperature and operating time. Parts used in high-temperature environments experience increased post-shrinkage, necessitating an appropriate increase in the compensation ratio. For example, for parts with inserts in automotive engine compartments, the post-shrinkage is calculated as 30% of the initial shrinkage to ensure dimensional compliance after extended use. Furthermore, optimizing mold holding parameters (such as increasing the holding time) can reduce post-shrinkage. The compensation amount should be adjusted based on actual process conditions.
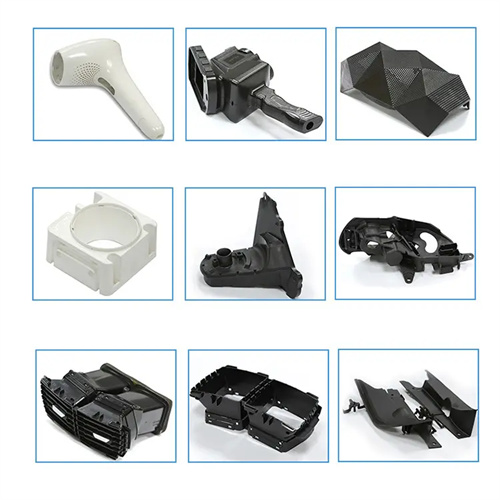
Calculated mold dimensions for molds with metal inserts require verification and correction during mold trials, as many factors in actual production (such as insert preheat temperature, mold temperature, and injection pressure) can affect the final dimensions. During mold trials, the actual dimensions of the plastic part at room temperature should be measured, compared to the design values, and the deviation calculated. The mold dimensions should then be adjusted accordingly. For example, if a part’s design dimensions are 50mm, the actual dimensions after mold trials are 49.8mm (a negative deviation of 0.2mm), indicating insufficient shrinkage compensation, the mold dimensions should be increased by 0.2mm. Complex dimensions near the insert should be measured and corrected in sections. For example, the dimensional deviation within 5mm of the insert edge may differ from that in areas further away from the insert, requiring mold adjustments for corresponding areas. Furthermore, during mold trials, actual operating conditions (such as high and low temperature cycling) should be simulated and dimensional changes after these environmental changes should be measured to ensure dimensional accuracy meets requirements throughout the product’s lifecycle. Through mold trial corrections, the dimensional tolerance of plastic parts with metal inserts can be controlled within ±0.1mm, meeting assembly and operational requirements.
